
A large part of my job is doing crafts with children and I am always looking for a way to adapt crafts for kids. I remember making bracelets in my youth, and I wanted to share this knowledge without it being too difficult.
Materials for this project: my template, cardstock or cardboard, four 36" lengths of embroidery thread, yarn or some other cord material, beads and scissors.
You can print out my template on cardstock or on regular paper and then use it to cut out a piece of cardboard. Make sure to cut the notches that are drawn as those will hold your threads in place.
Once you have your template cut out, take your four strings, fold them in half and make a loop with a knot.

Take your loop and pull it through the center hole of the cardboard template.

Take two of the same color strings and put them in the notches surrounding the star on the template. Take another two strings of the same color and put them in the notches directly to the right of the first color. Take the other two colors and place them in the notches facing up and facing down, so your template looks like this:

These are all steps you can have already prepared for the group of kids you are working with, depending on age/skill level. I personally like to have the kids choose their own colors, because it allows them to express themselves and have ownership in the projects they are making.
The key to this craft is Top Right Down, Bottom Left Up, Rotate.
Start with the template so the star is facing to the west of the wheel.
First, take the top right string, and move it to the right of the bottom strings.
.gif)
You should now have one string on top and three on the bottom.
Next, take the string on the bottom that is all the way to the left, and move it to the left of the top string..gif)
You will now have to different colors on top and bottom. Take the wheel and rotate it counter clockwise, to the left. The star will now be facing south on the template wheel.
.gif)
That's it! You just continue the first two steps, going top right down, bottom left up and rotate again and again, like so:
.gif)
As you continue, you will notice if you flip your template over that your braided bracelet is beginning to form.

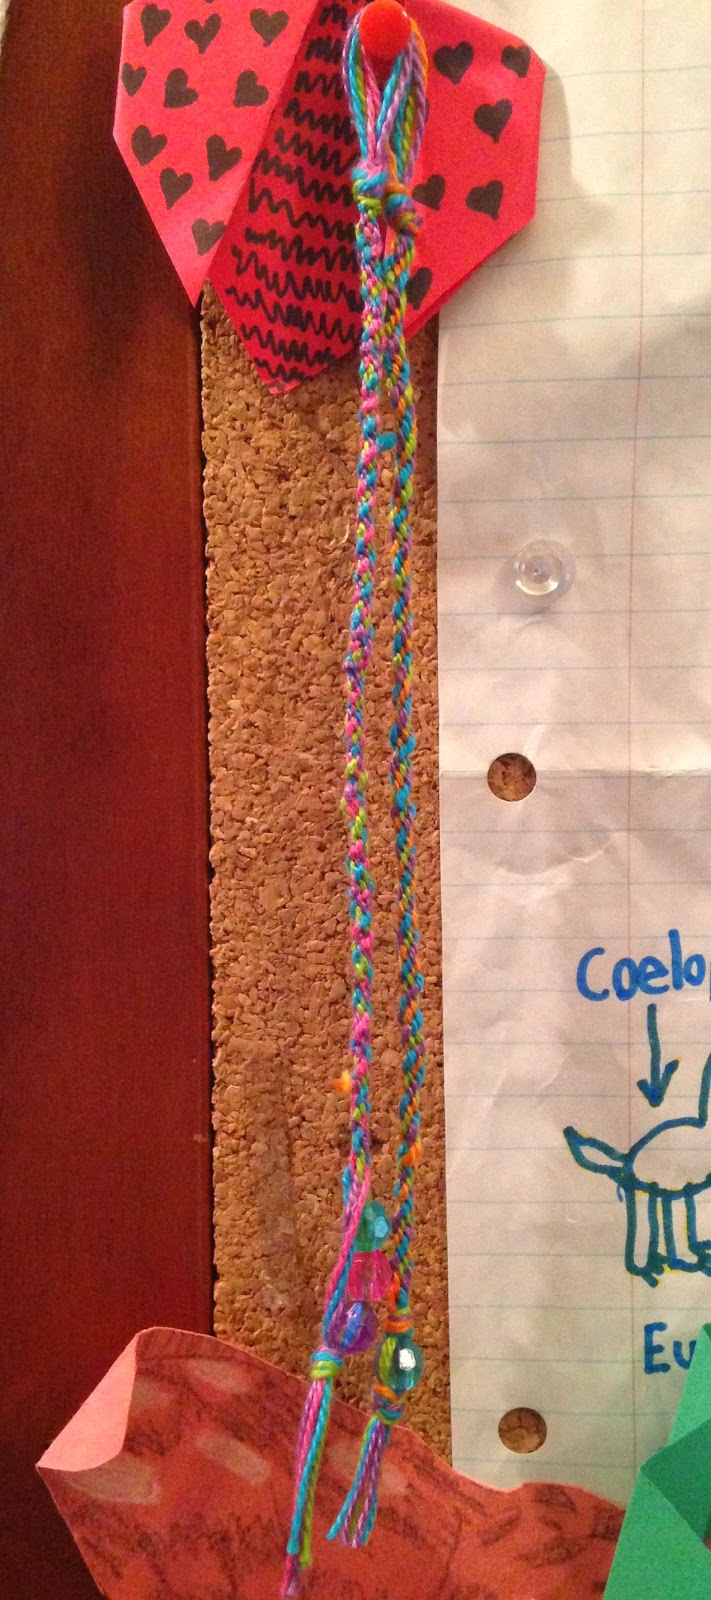
Once your bracelet is long enough to wrap around your wrist, you can remove it from the template and knot it to finish. It is optional, but I like to add beads to decorate and also they make it easier to wear the bracelets.
These are fast and super fun to make and wear. I plan on experimenting with yarn, cording and perhaps even plastic lacing.

No comments:
Post a Comment